Kratom scientifically termed as Mitragyna Speciosa is the widely popular herb that belongs to the coffee family and it is harvested in different parts of Southern Asia including Borneo and Indonesia. Kratom is first
More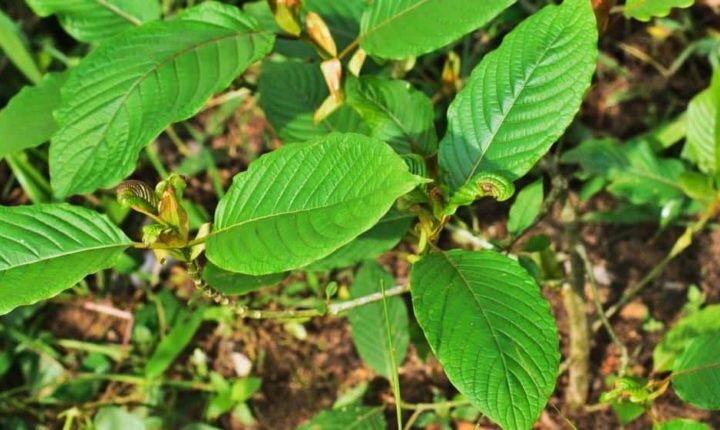
Kratom scientifically termed as Mitragyna Speciosa is the widely popular herb that belongs to the coffee family and it is harvested in different parts of Southern Asia including Borneo and Indonesia. Kratom is first
More
Carlos the Jackal is a near-mythical villain in the history books of the twentieth century. After all, this is a man who could boast of a direct line to Saddam Hussein, Muammar Gaddafi and Hugo Chavez. Joining the Popular Front for
Read More »
A filmmaker who seems to offer us a vision of the end

Working with the likes of Jean-Luc Godard and Leos Carax in her

Instagram has undoubtedly become the most used photography application for iOS and Android users. Even famous
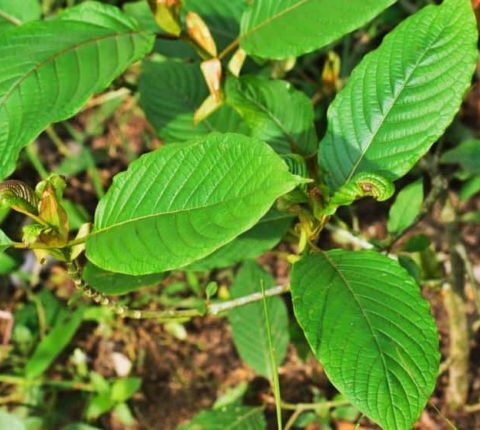
Kratom scientifically termed as Mitragyna Speciosa is the widely popular herb that belongs to the coffee

If you’re excited about moving to your new home but not so excited by all the

If you are about to embark for a semester on an overseas adventure, it is important

If you’re like most people, you can’t wait to get into your new home and start